Most of us with jailbroken iPhones are already familiar with the PlayStation, Game Boy, Nes and Super Nes emulators, those hacks that bring our favorite old games to the iPhone or iPod Touch.
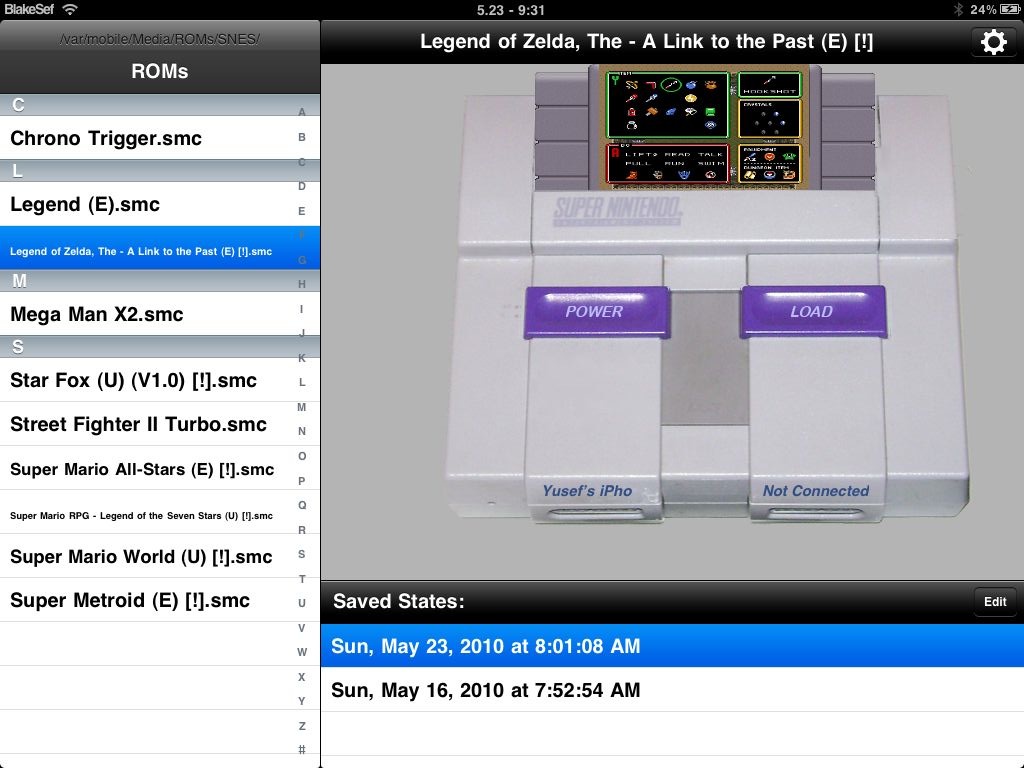
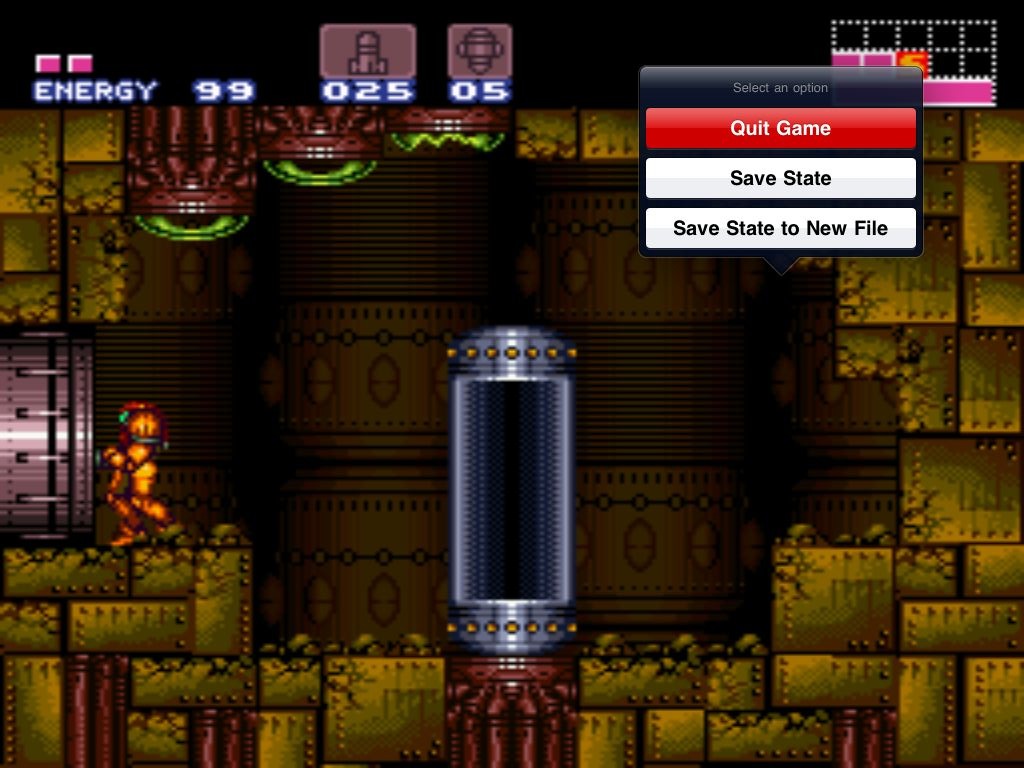
Because bigger is better, now comes SNES (HD), a Super Nintendo emulator for iPad and controlled with an iPhone. Don’t need to read this previous sentence again because I’m going to repeat it for you: SNES (HD) is a Super Nintendo emulator for iPad that allows you to play any Super Nes game and control them with your iPhone.
SNES (HD) is an iPad port of the popular Super Nintendo emulator Snes9x. It is based on ZodTTD’s iPhone port snes4iphone but it has been rewritten for the iPad.
How to install the SNES (HD) Super Nes emulator on your iPad
Step 1: Your iPad and iPhone must be jailbroken. If it’s not, jailbreak them. At the time this article is written, Spirit is the best way to jailbreak your iPad and iPhone.
Step 2: In Cydia, add the following source to your iPad and iPhone: http://wherethewoozlewasnt.com/cydia. SNES (HD) should be released in the ModMyI repo soon but for the moment, you will need to add this source manually.
Step 3: Once the source has been added, install SNES (HD) on your iPad and ControlPad on your iPhone.
Step 4: Now you need to add Super Nintendo ROMs to your iPad in /var/mobile/Media/ROMs/SNES. The best way to add ROMs is by using WinSCP for Windows or CyberDuck for Mac. If you don’t have any Super Nintendo ROMs in there, you obviously won’t be able to do anything. For legal reasons I cannot tell you where to find ROMs but a quick Google search with right keywords should get you what you’re looking for.
Step 5: Make sure bluetooth is enabled on both your iPhone and iPad. Launch SNES (HD) on your iPad and ControlPad on your iPhone.
Step 6: Your iPad and iPhone will start looking for each other. After about a minute, “Tap to Connect” will pop up on your iPhone. Tap on the entry for your iPad, and in a second the iPad will display an “Accept/Deny” screen. Hit “accept” and you’ll be connected.
Step 7: Select a ROM from the list of ROMs available (it depends on how many you added) and enjoy your Super Nes emulator for iPad.
100% credit for this goes to the developer of SNES (HD) and his blog Where the woozle wasn’t. I simply made the instructions clearer and easier.
This Super Nintendo emulator for iPad is free but the developer accepts donations. If you’re going to use SNES (HD) that’d be nice if you could send him a few bucks by visiting his site and hitting the “donate” button.
If you’re still on the fence about installing SNES (HD) on your iPad, watch this video.

